
Just when I thought chocolate and I had gotten to know each other fairly well, the little devil comes and ambushes me out of nowhere. Of all the wonderful guises chocolate has taken in the time we’ve spent together, never before has it disclosed itself to me in this way–cloaked in the aromas of baking bread.
Thus far, bread baking has provided only great expectations chased with grave disappointments. All of my loaves in the past have turned out heavy and gluey. I hate to admit it but it was probably the millet, flax, seeds, and whole wheat flour I weighed the poor things down with. And lack of practice of course. But sometimes you just don’t want to stick your hands in 40 hunks of dough before you get it right, you know?
When our local grocery store came out with chocolate bread as a February feature, I tasted some with sweetened cream cheese and one solitary goal emerged from the clamour that was my tastebuds going “bread/brownie/bread/brownie?” I set out on a mission to create my own version. And one not ridiculously overpriced, and not containing high fructose corn syrup to boot.
Turning to the trusty internet, I compiled a list of chocolate bread recipes and began studying. Deb over at Smitten Kitchen came through again, with a recipe straight from the Institute of Culinary Education in NYC. That highfalutin ring was enough to convince me to follow her guide to uniting chocolate and bread in holy matrimony. Ok, maybe holy is pushing it. Yummy matrimony anyway.


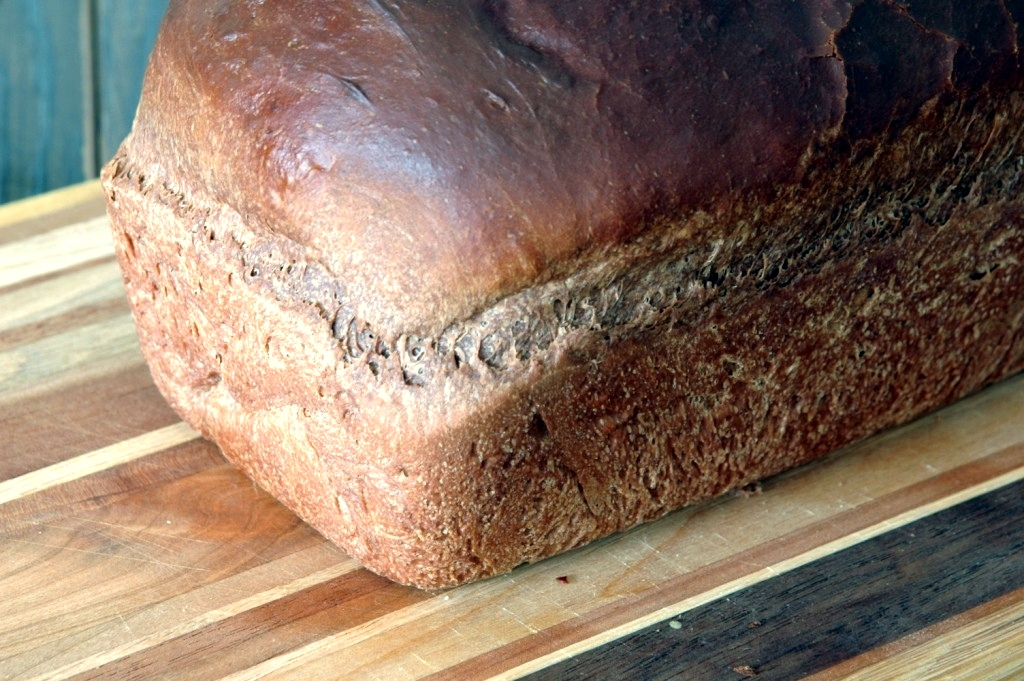
Just look at the way it’s rising above the side of the pan. I think the whole Westcott neighbourhood must’ve heard me screech with delight. Tap tap, is that a hollow sound? Sniff sniff, is that the smell of yeast propelled grains clamouring over grains of sugar and dusted with cocoa? Yes yes yes. It is magic, and it happened in my kitchen. Shame on you, 5$ Wegman’s bread, but thanks for the inspiration.
Don’t let the word chocolate fool you though. This creation is exactly half way between the humble bread we all know and love, and something with a little more panache, like a devil’s food cake. This is the peacemaker of breads — mild enough for breakfast with a smear of creamed honey and yet possessing a decadence worthy of late evening cravings. It’s no less healthy than regular old white bread. In fact, cocoa adds those wonderful antioxidants we hear so much about. And finally, this loaf’s deceivingly pumpernickel appearance could also render it a prime medium for those ashamed of their chocolate dependence. (God forgive any such souls.) I can’t wait to try this with half whole wheat flour. I know I know, let it be Jen, let it be.
Chocolate Bread
serves 2 peasants and a king
Ingredients
1/2 cup warm water (at approximately 110 degrees — mildly hot tap water)
2 1/2 tsp (1 envelope) active dry yeast
2 3/4 cups unbleached all-purpose flour (reserve some and add only if you need it, too much flour = tougher bread)
1/4 cup unsweetened cocoa
3 Tbsp sugar (I used a wee bit less)
1 tsp salt
1 teaspoon finely grated orange zest (I omitted this, wanting the chocolate to reign supreme)
1/2 teaspoon ground cinnamon (I used about 1/4, see above note!)
2 tablespoons unsalted butter
1/4 cup milk (I warmed mine slightly, the yeast likes that)
1 egg
Preparation
- Butter an 8 1/2 x 4 1/2 x 2 3/4-inch loaf pan. Place warm water in a small bowl and whisk in yeast
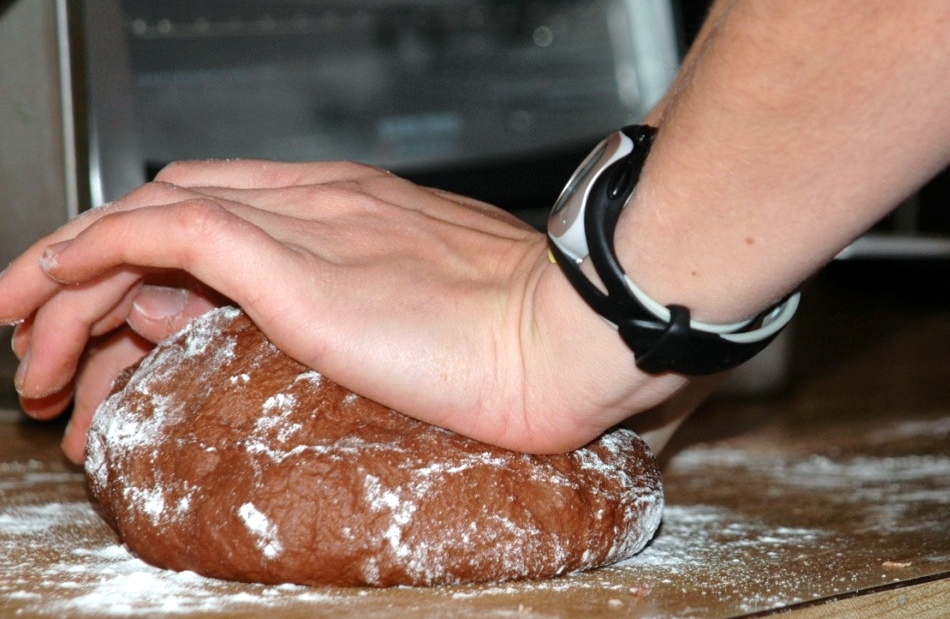
- Combine flour, cocoa, sugar, salt, orange zest and cinnamon in a bowl and mix well. (I did it by hand, but I’ll allow stand mixers.) Mush in butter with a wooden spoon until you can’t see any chunks. Add milk, egg and yeast mixture and stir to form a rough dough. Transfer dough to lightly floured work surface (scraping up anything that sticks to the counter with the back of knife) and knead until smooth and elastic, about 5 minutes. It should feel soft and warm and tender.
- Place dough in a greased bowl and turn it so that it is lightly coated. Cover bowl with plastic wrap and allow dough to rise until doubled in bulk, about 1 hour.
- Deflate gently with your fist and transfer to your floured work surface. To form loaf, stretch dough into a rectangle, fold in short ends until dough is approximately the length of the pan. Then fold far long edge down to the middle. Fold over the remaining long edge and compress to form a tight cylinder. Place the loaf in the pan seam side down. Spray the top of the dough with non-stick canola spray, and cover the pan with plastic wrap. Allow dough to rise until doubled, about 1 hour. (I’ve heard that contrary to popular belief, doing a long, slow, cool rise develops the best flavours in bread. I have yet to try it. For those strapped for time, you could put it in the fridge overnight and bake it the next morning.)
- When the loaf is rising, preheat oven to 375 degrees (hotter than you need because you lose degrees when you open the oven) and set a rack at the middle level.
- When the loaf has finished rising (two finger indents will stay, not bounce back) place oven and immediately lower temperature to 350 degrees. Bake about 30 to 40 minutes, until well risen and firm to the tough. (Mine took 30.) Gently release the loaf to a rack to cool.
courtesy of Smitten Kitchen and the ICE